Email Deliverability: Verify Your Domain for Sending Emails
It’s necessary to verify the domain connected to your CRM so that any emails you send from there will be recognized to be legitimate and not marked as spam by recipient email providers.
Note: By using a subdomain of your primary domain as the sending domain, we won’t interfere with any existing email accounts you already have at your domain. (A subdomain simply refers to adding a secondary word in front of your domain name.)
Setting up this verification allows you to send emails through your CRM, but we don't recommend using it as the primary email at your domain. We recommend setting up an email address at your domain through something like Google Workspace, since it has a more user-friendly interface as a primary inbox. Plus, you can sync that email to your CRM to view and answer messages in both places seamlessly.
**If your domain is registered at Godaddy, please skip to that section of this tutorial.
Instructions for registrars other than Godaddy:
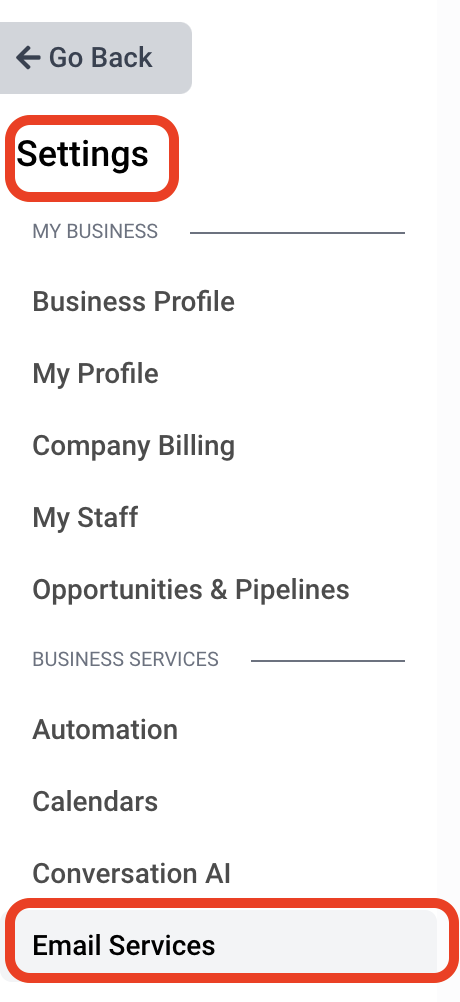
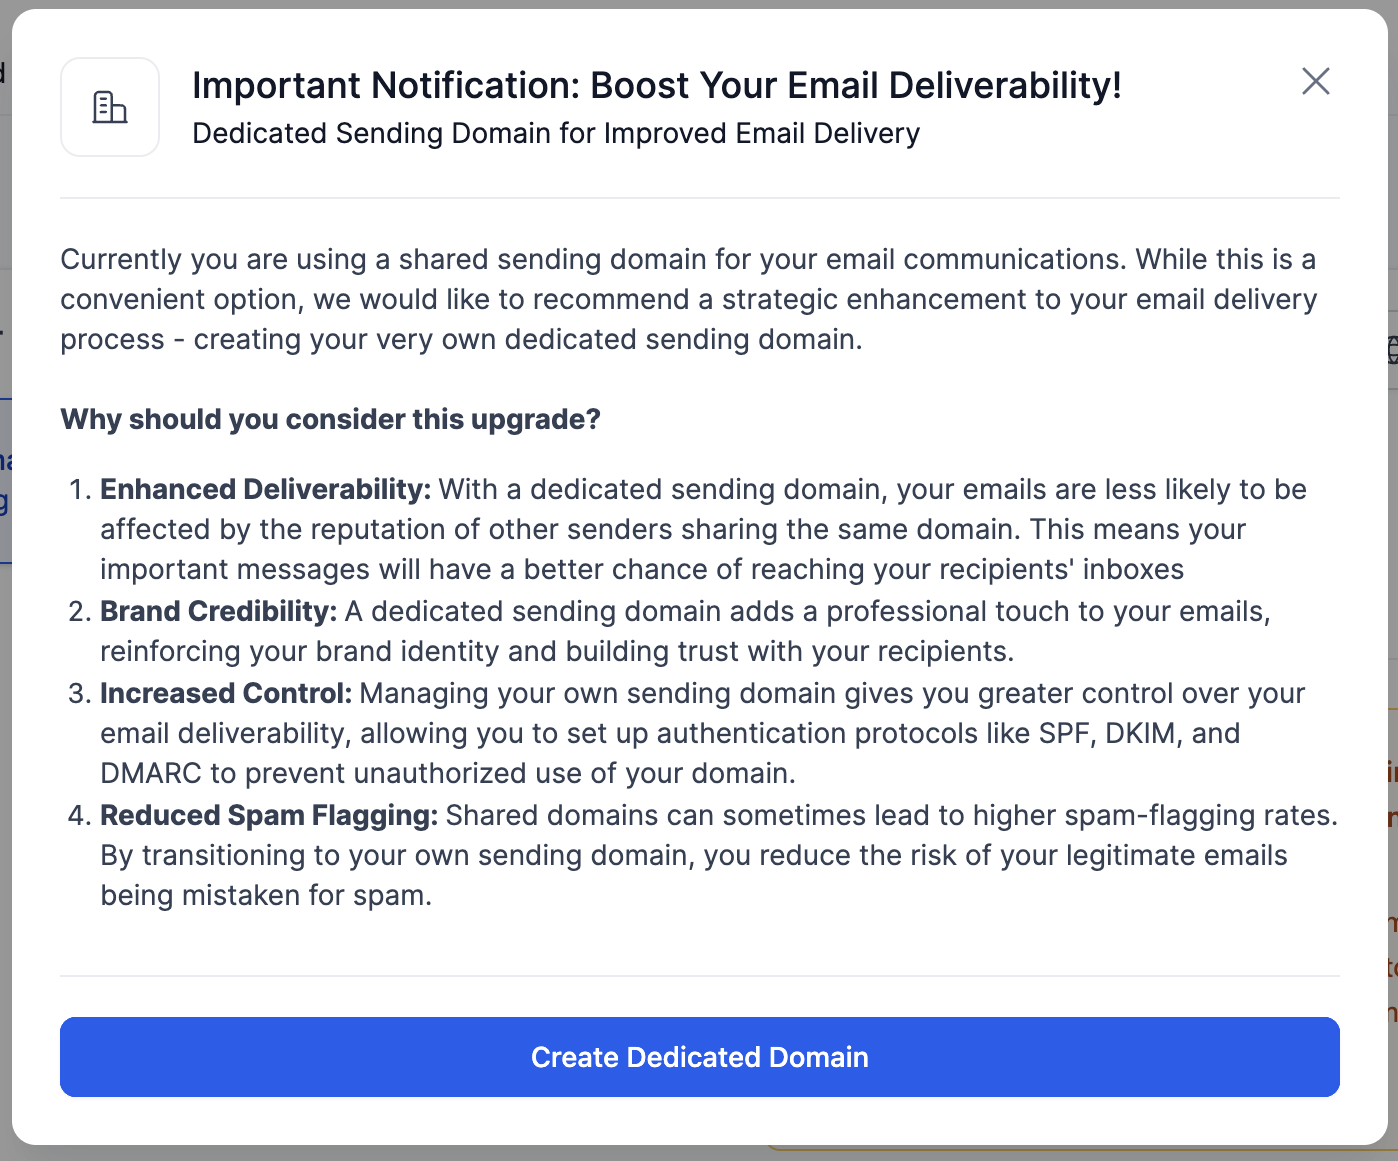
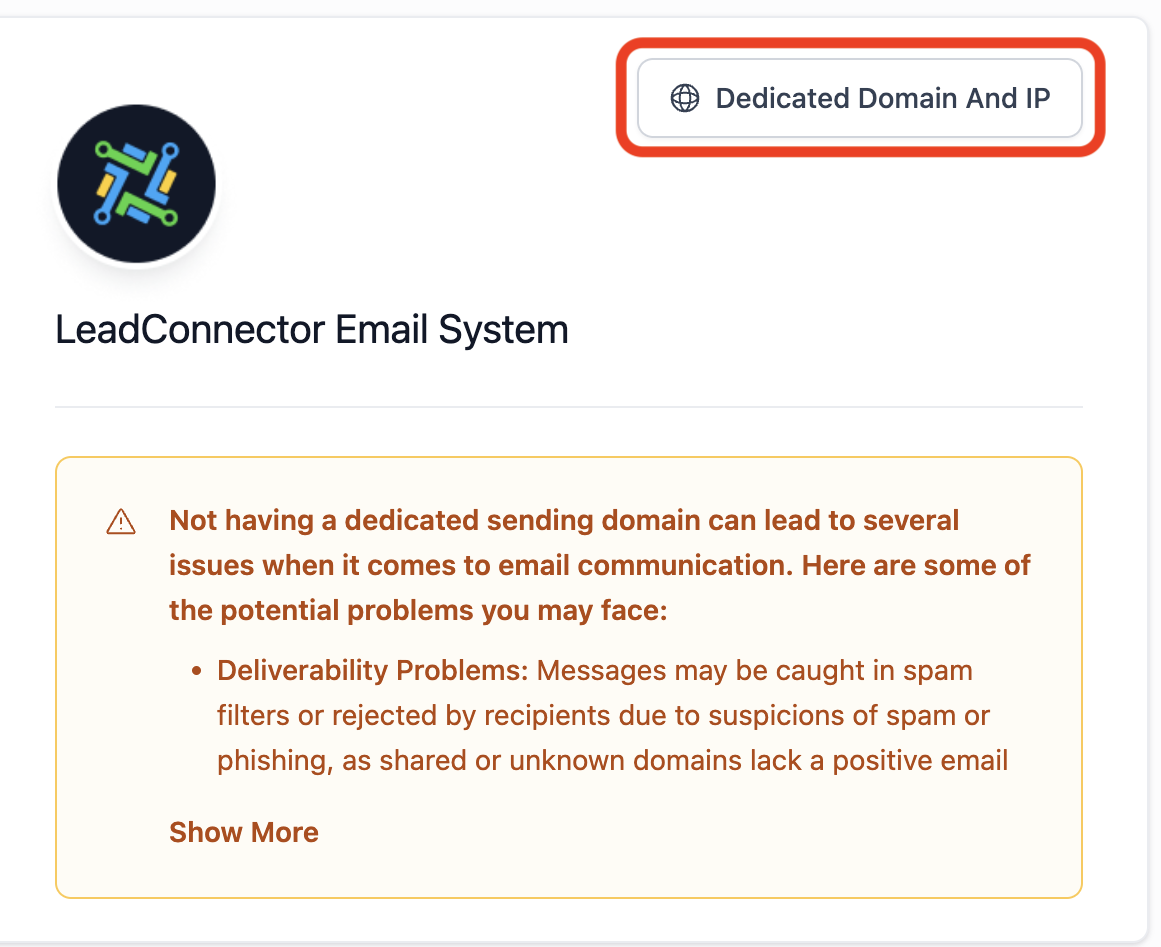
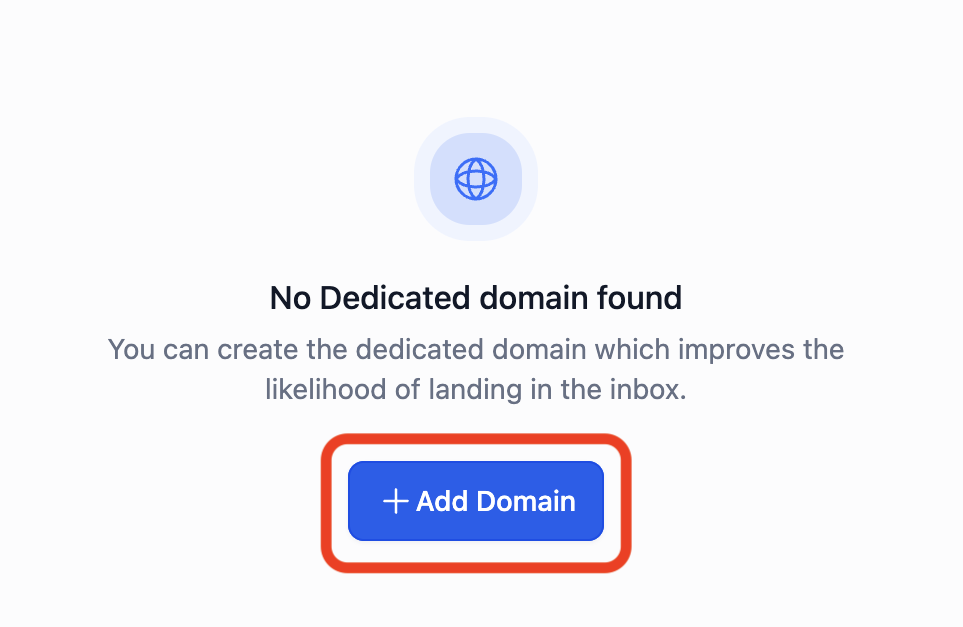
Go to your AIP dashboard > Settings > Email Services. There should be a pop up with a button that says Created Dedicated Domain. (If that doesn’t pop up, you can just click on Dedicated Domain and IP, and then click + Add Domain.)
Enter the domain name as “mail.mydomain.com.” (This is so the email verification doesn’t interfere with email services you may already have set up at your domain.)
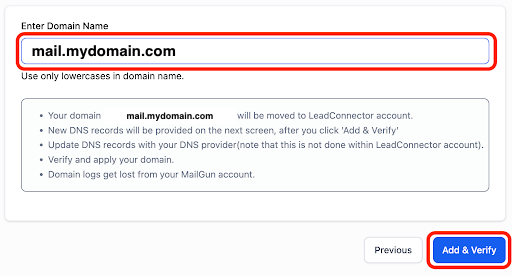
In the box that comes up, click Continue.
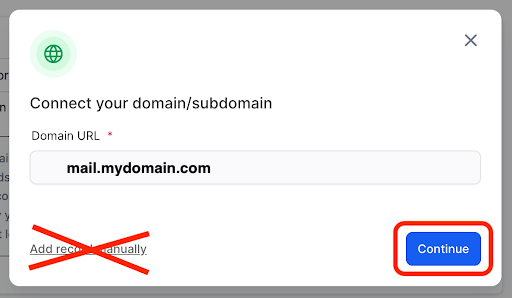
This will bring up a box with most of the records that need to be added to your domain’s DNS settings. For each record, you’ll see the type of record to add, the hostname, and the value; make sure you add all the information in the correct spaces when adding the records to the DNS settings (if a record asks you for a priority, set it to 10). (If it brings up an error saying that it can’t add one of the records because it’s a duplicate, you need to go back to the Dedicated Domain page in your dashboard and delete the mail.domain you added. Then start the process again, but add the domain as “email.mydomain.com.”)
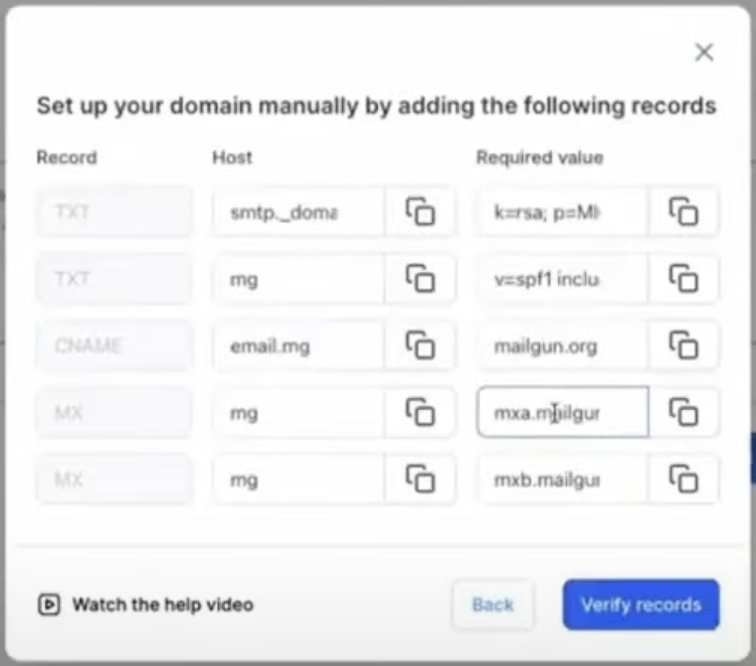
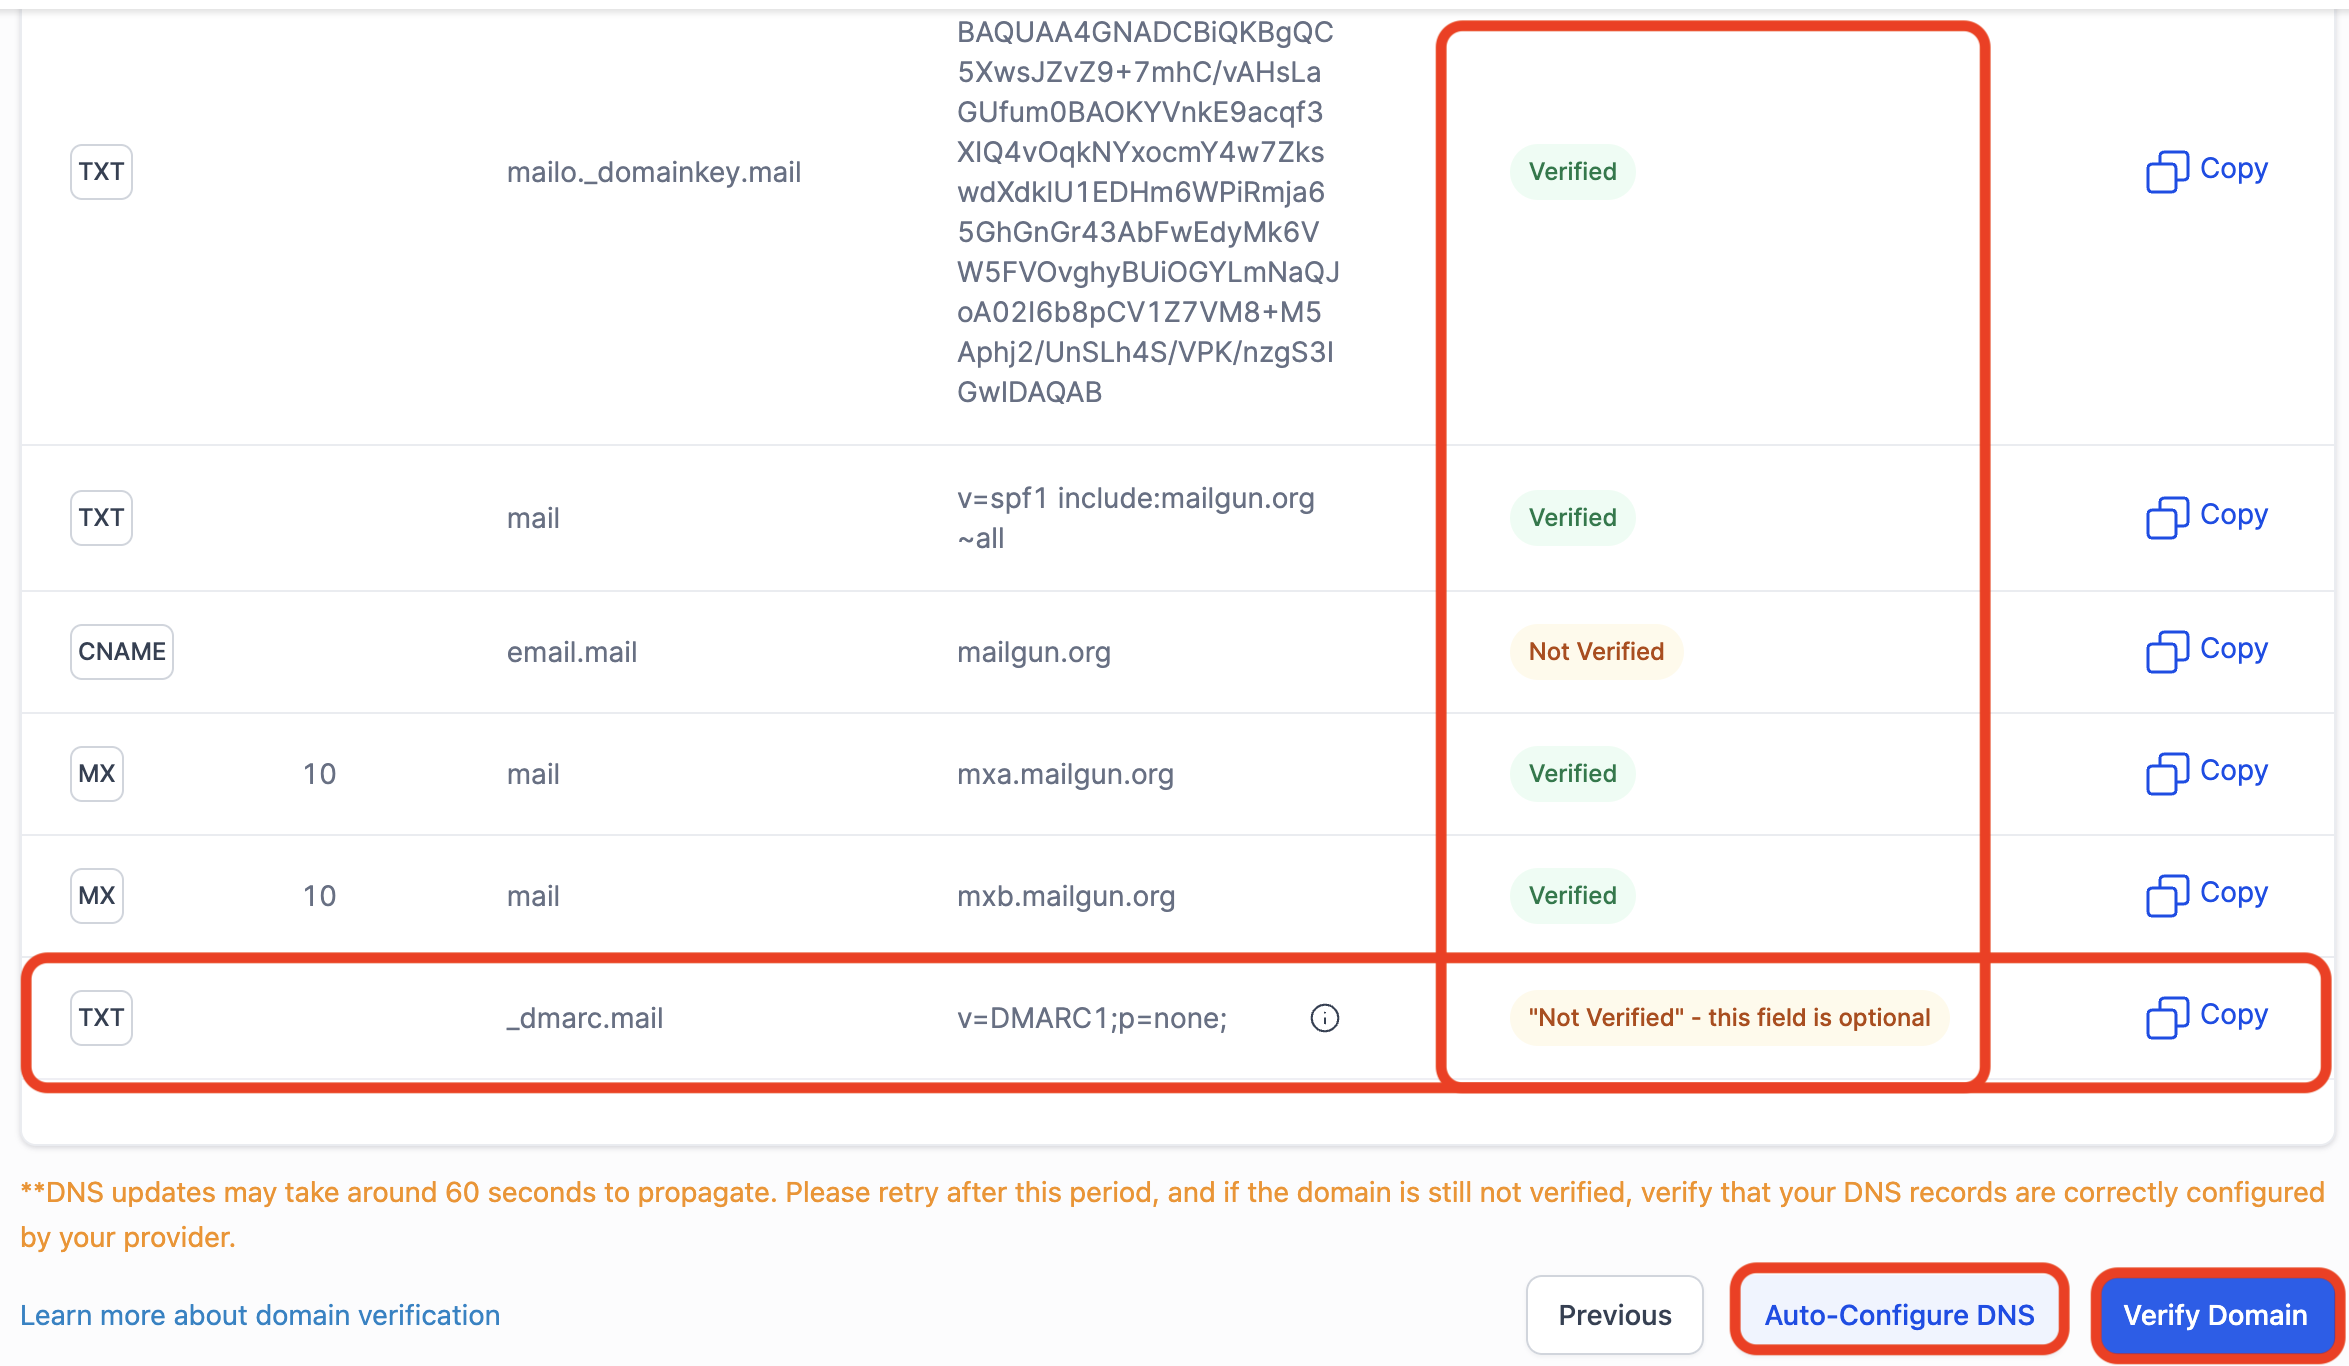
Once you’ve finished adding all the records listed, click on Verify records. This should take you back to your dashboard with a list of records added to your domain’s DNS settings. Most likely some of the record status’ will show as Verified and some as Not Verified; this is normal since it can take a few minutes for new records to process.
You’ll also see listed one more record you will have to add. It’s a TXT record listed as optional, but we need to add it to avoid email sending issues in the future. Go back into your domain DNS settings and add the new record.
Once you have finished adding the last record, click on Verify Domain.
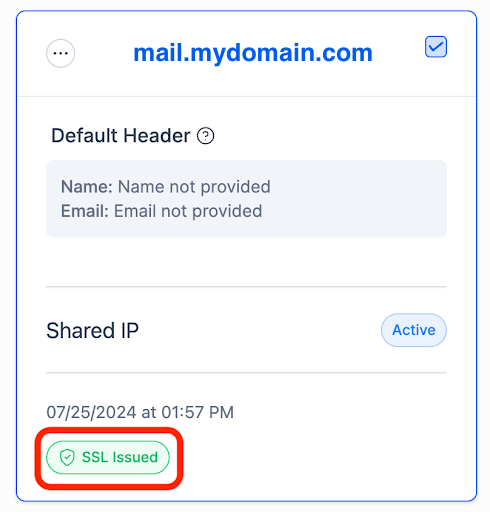
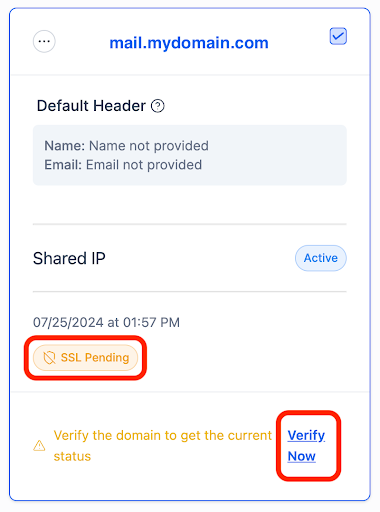
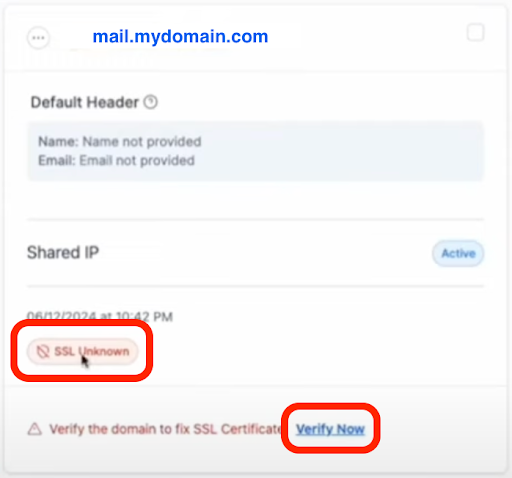
At this point it will take you back to the Dedicated Domain page and show you the status of the Dedicated domain you just added. If it has a green tag that says “SSL Issued,” you’re done! If it says anything else (like a yellow or red SSL notice), you can double-check to make sure you added all the records correctly. If you have, just wait a few minutes, then click on Verify Email. This will bring you back to the page with all the records listed—make sure they are all listed with the status “Verified,” then click on Verify Domain again.
9. The final step is setting the headers. Once your domain is verified, click the three dots in the corner of the domain box. Then select Set Headers. Change the From Name to your name and the From Email to your business email. Then select Save.


Instructions for Godaddy domains:
Go to your AIP dashboard > Settings > Email Services. There should be a pop up with a button that says Create Dedicated Domain. (If that doesn’t pop up, you can just click on Dedicated Domain and IP, and then click + Add Domain.)


Enter the domain name as “mail.mydomain.com.” (This is so our email verification doesn’t interfere with email services you may already have set up at your domain.)

In the box that comes up, click Continue.
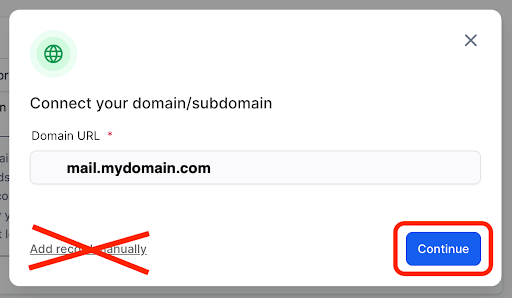
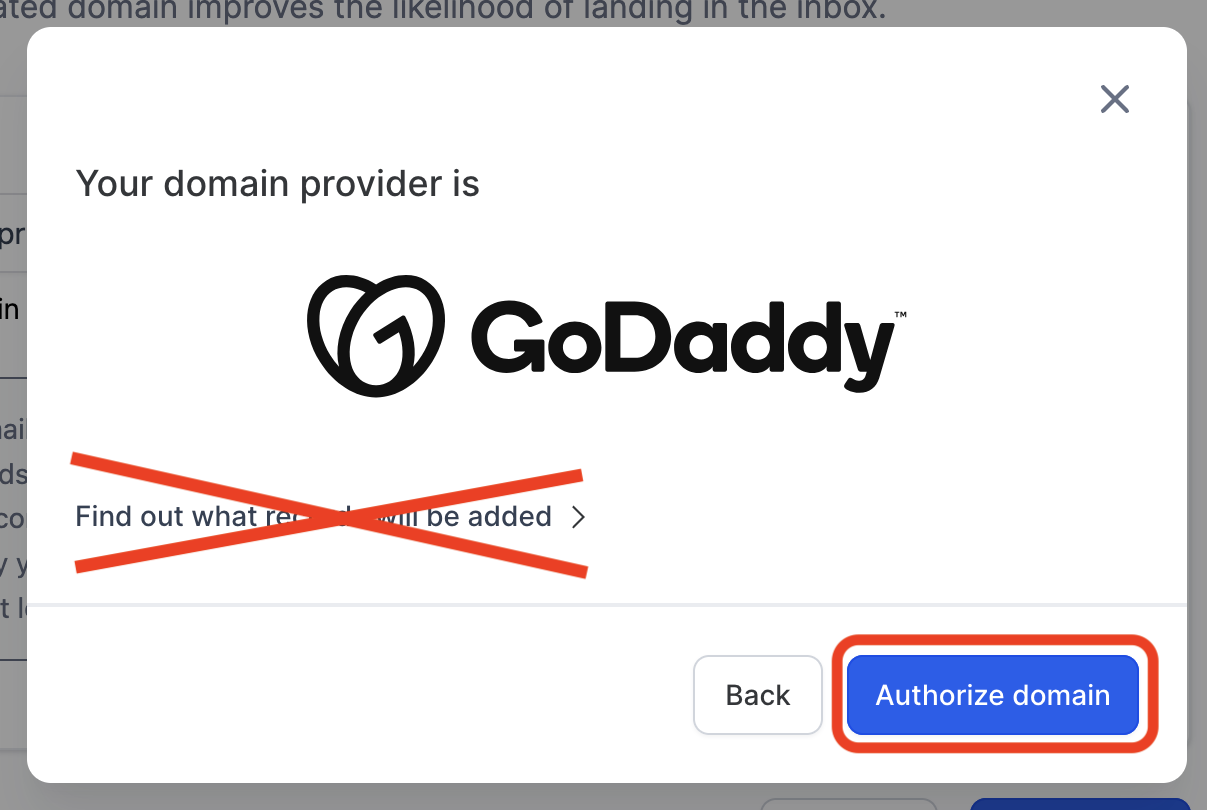
Click on Authorize Domain.
This should open up a new tab to connect your domain to LeadConnector (our CRM). Click Connect, and then click Close. (Or before this page opens, it may ask you to log into your Godaddy account first. As well, if you’ve already given this authorization before, it may skip this step altogether.)
This should take you back to your dashboard with a list of records automatically added to your domain’s DNS settings. Most likely some of the record status’ will show as Verified and some as Not Verified; this is normal since it can take a few minutes for new records to process. (If it brings up an error saying that it can’t add one of the records because it’s a duplicate, you need to go back to the Dedicated Domain page in your dashboard and delete the mail.domain you added. Then start the process again, but add the domain as “email.clientdomain.com.”)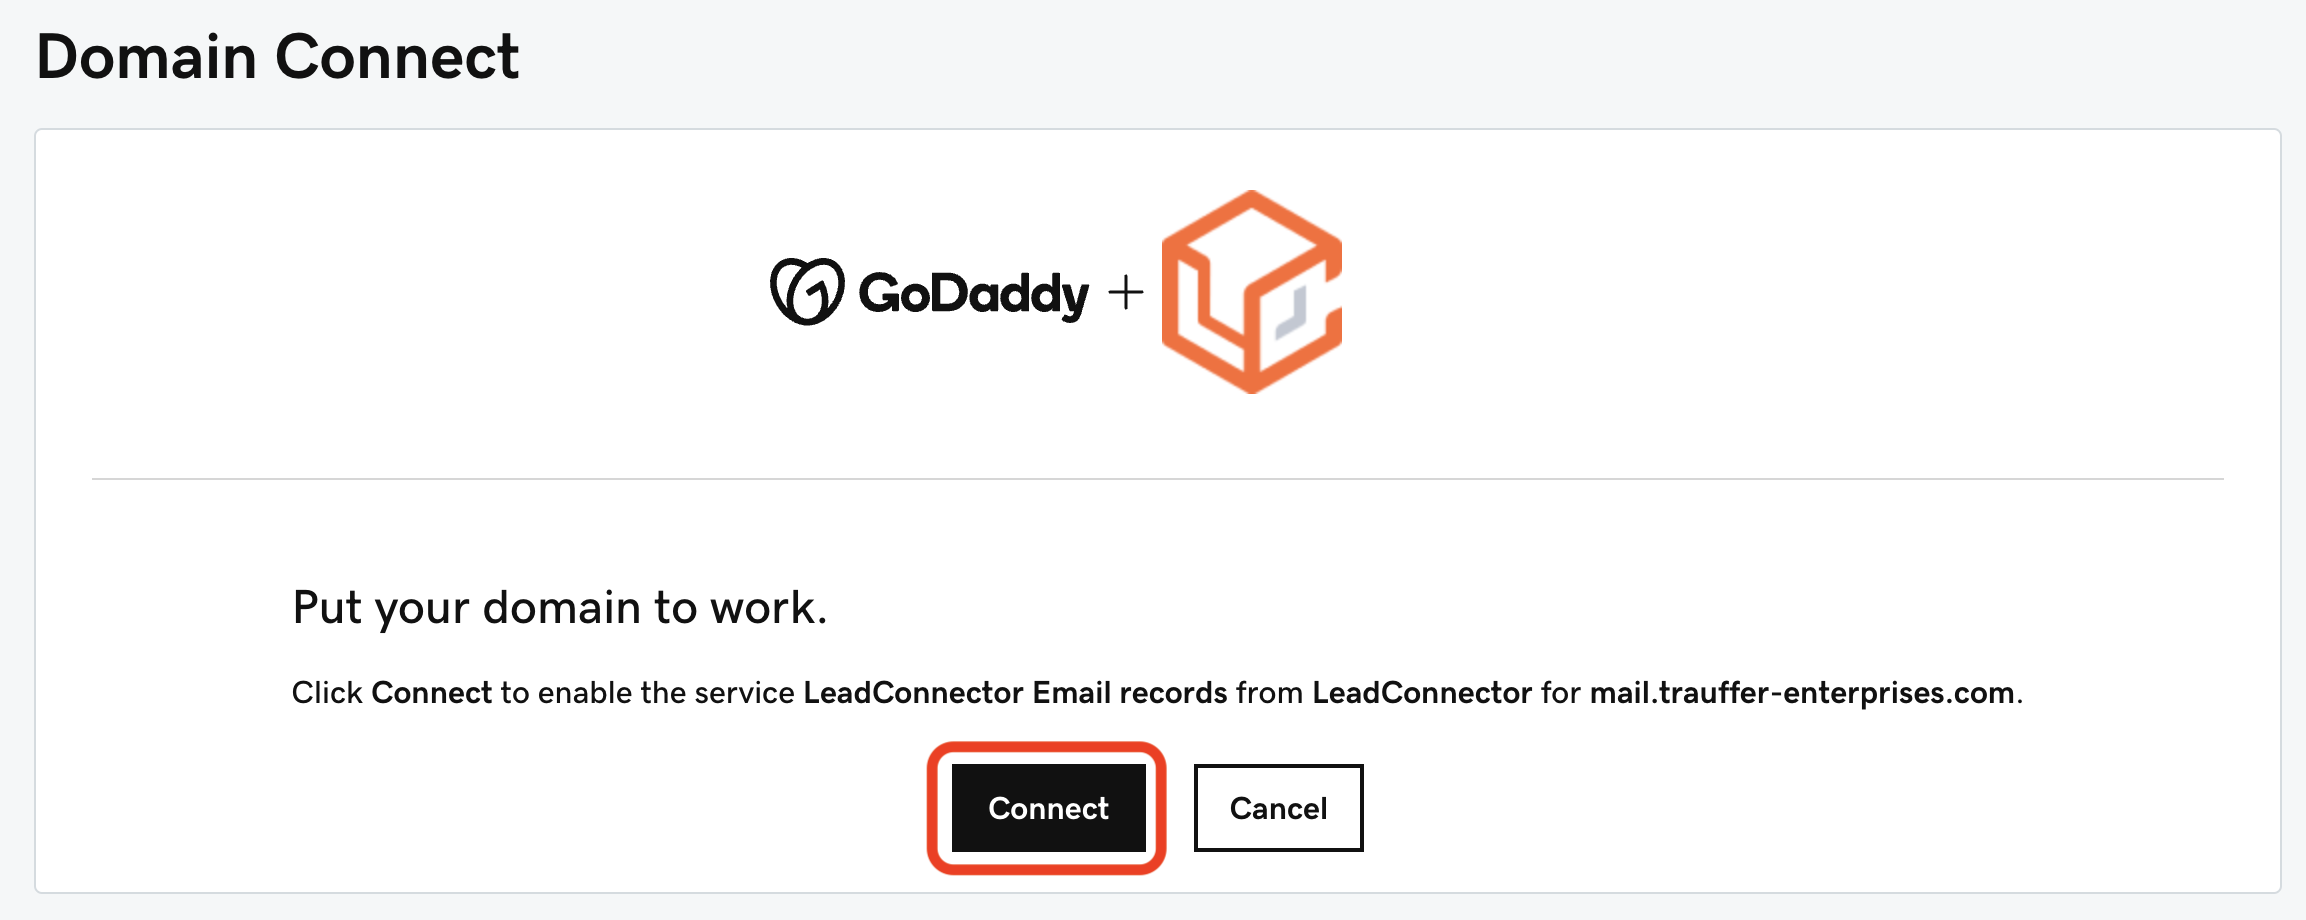

There is one record you will have to add manually. It’s a TXT record listed as optional, but we need to add it to avoid email sending issues in the future. Go back into your domain’s DNS settings and add the new record.

Then come back to the email verification screen and click on Verify Domain in the bottom right-hand corner. (If for some reason the records didn’t add automatically or you couldn’t log in properly to Godaddy, you can try again by clicking on the Auto-Configure DNS button.)
This will take you to the main email verification screen, where you’ll see the dedicated domain and its SSL status. If it is green, you’re done! If it is yellow or red, wait a few minutes and then click on Verify Now.


Check to make sure all the records are showing as verified, and then click on Verify Domain in the bottom right-hand corner.
The final step is setting the headers. Once your domain is verified, click the three dots in the corner of the domain box. Then select Set Headers. Change the From Name to your name and the From Email to your business email. Then select Save.


Have a question?
Send us an email at [email protected]
or click here to see more options to contact us

