
How to Create a New Scheduling Calendar
**Note** If you are on our Pro or Influencer plan, your account already includes a calendar that has been added to a page on your website. You can find more instructions on editing that calendar and setting availability in this tutorial.
To create your calendar, in your dashboard Settings, click on the Calendars tab in the left-hand menu

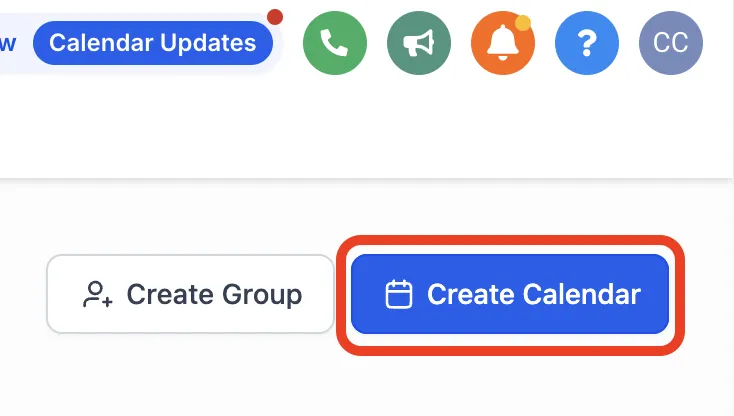
Near the top right, click on Create Calendar

Select a Round Robin calendar (even if you don’t have any other team members or are the only one using this calendar, we still recommend the Round Robin type since it integrates best with third-party services like Zoom, Outlook, etc.)
Fill out the information for your calendar (don’t worry if you’re unsure of things like the name or availability, as all of this information can be edited later). When choosing a Custom URL, you may have to try different combinations to find one that isn’t taken already (e.g. virtualcoffee, virtual-coffee, virtual- -coffee, etc). The slug isn’t actually that important, because we’re going to set it up with something much more user friendly in the URL for your calendar, so we just need to enter something to finish the setup process
In the popup that follows, just click close
Congratulations, you now have a scheduling calendar! For more information on editing your calendar and adding it to your website to share with others, please visit our support page for additional tutorials.
Have a question?
Send us an email at [email protected]
or click here to see more options to contact us
